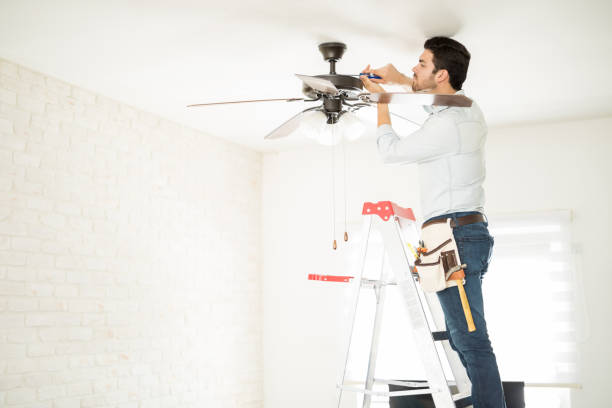
Installing a ceiling fan can be an excellent way to enhance a room’s comfort while also improving energy efficiency. With the right tools and knowledge, the installation process can be straightforward and manageable for those who are handy around the house. This guide provides essential steps for easy ceiling fan installation, ensuring a smooth process from start to finish. Whether one is interested in upgrading an existing fixture or adding a new fan, understanding these steps will facilitate a successful installation.
Preparing for Installation
Gather the Necessary Tools and Materials
Before beginning the installation, ensure all necessary tools and materials are on hand. This preparation can save time and prevent unnecessary interruptions during the process. The essential tools and materials include:
- Screwdrivers (Phillips and flathead)
- Adjustable wrench
- Wire cutters and strippers
- Voltage tester
- Stepladder
- Ceiling fan kit
- Electrical tape
Turn Off the Power
Safety is paramount when dealing with electrical installations. Locate the circuit breaker connected to the ceiling fixture and turn it off. Use a voltage tester to verify that the power is indeed off. This step is crucial to avoid electrical shocks during installation.
Installing the Ceiling Fan
Remove the Existing Fixture
If replacing an old fixture, carefully remove it by unscrewing the fasteners and disconnecting the electrical wires. Keep track of all screws and parts in case they are needed for the new installation. This process might vary slightly depending on the existing fixture.
Install the Fan Mounting Bracket
Most ceiling fan kits come with a mounting bracket. Secure the bracket to the electrical box in the ceiling using the screws provided. Ensure that the bracket is tightly secured, as it will support the weight of the fan. In some cases, it might be necessary to install a support brace if the electrical box is not rated for ceiling fans.
Assemble the Fan Components
Follow the manufacturer’s instructions to assemble the fan components. This usually involves attaching the blades to the motor housing and installing any decorative elements. Ensure all screws are tightened appropriately to prevent any wobbling during operation.
Wiring the Ceiling Fan
Connect the Wires
With the fan components assembled, proceed to connect the wiring. Match each wire to its corresponding color: typically, black or red wires are for the fan’s power, white wires are neutral, and green or bare wires are for grounding. Use wire connectors to secure the connections, and wrap them with electrical tape for added safety.
Secure the Fan to the Bracket
Carefully lift the fan and align it with the mounting bracket. Secure the fan to the bracket with the screws provided, ensuring it is flush against the ceiling. Double-check that all screws are tightened to prevent any movement when the fan is in operation.
Testing and Final Adjustments
Restore Power and Test the Fan
Once the fan is securely installed, restore power at the circuit breaker. Test the fan to ensure it operates smoothly and without noise. Check the fan’s speed settings and verify that the blades rotate without wobbling. If any issues arise, turn off the power, and recheck the connections and assembly.
Seek Professional Assistance if Needed
For those uncomfortable with handling electrical installations, or if the project seems too complex, seeking professional assistance is advisable. A professional can ensure a safe and efficient ceiling fans installation. Searching for ceiling fan installation near me can provide local service options, like ceiling fan installation in Port Macquarie, ensuring the job is done right.
Following these essential steps can simplify the ceiling fan installation process, ensuring a functional and aesthetically pleasing outcome. With proper preparation and attention to detail, installing a ceiling fan can be a rewarding home improvement project that enhances comfort and energy efficiency.